Implementing a robust and scalable Webhooks/Notification system in NodeJS

(c) Eric Scales. Get it at Etsy
A lot of modern REST APIs need to perform asynchronous operations, instead of unreliably keeping a long living http connection to the server waiting for it to complete, it is common to instead implement a notification system using webhooks. Notifications can be used for many other things of course, a good example is Stripe's API which uses webhooks extensively for notifying events such as subscription creation, payments, charges, or anything in between.
In this post I would like to show you how to implement such a webhook system in NodeJS using BullMQ for powering the queues. You can find a fully working code for this tutorial here.
The tutorial is written so that the core concepts of a webhook system are explained while things like security are omitted for simplicity, please ping me if you would like me to cover security as well in a second post.
Design
We are going to go through a solution for the following use case: we have a server that exposes a POST endpoint to request async tasks. When the user calls this endpoint a job is created and placed into the Tasks Queue. A fleet of workers consumes these jobs, and when each one of these jobs completes, a new job is created and added to the Webhook Queue.
Another fleet of workers will now try to notify the user's webhooks with the result of the task that has been completed. If the call to the webhook fails we will retry a couple of times using an exponential backoff, and if after a number of attempts we still do not manage to perform the call we will add a new job to the "mailbot queue" to notify the user via email that the webhook is not working properly.
Implementation
So let's start by creating our server that handles the posted tasks. We will use a simple express server for this:
import express from "express";
import { Queue } from "bullmq";
import config from "./config";

const app = express();

const taskQueue = new Queue("tasks", { connection: config.connection });

app.post("/users/:userId/tasks/:taskType", express.json(), (req, res) => {
  const taskData = req.body;

  console.log(`Received task ${req.params.taskType} to process...`);

  taskQueue
    .add(req.params.taskType, { userId: req.params.userId, taskData })
    .then(
      (job) => {
        res.status(201).end(job.id);
      },
      (err) => {
        res.status(500).end(err);
      }
    );
});

console.log(`Start listening to port ${config.port}`);
app.listen(config.port);
There is nothing fancy here, just proxying the POST call as a new task job into a queue. Since we return after adding to the queue, the user can rest assured that the task will be performed if she gets a status 201 when calling this endpoint.
The worker code for this queue will perform the actual task and post a new job to the webhooks queue:
import { Worker, Queue } from "bullmq";
import config from "./config";

const webhooksQueue = new Queue("webhooks", { connection: config.connection });

export const taskWorker = new Worker<{ userId: string; task: any }>(
  config.taskQueueName,
  async (job) => {
    console.log(`Processing job ${job.id} of type ${job.name}`);

    const result = `Result data from task performed for ${job.name} with ID ${job.id}`;

    return webhooksQueue.add(
      job.name,
      { userId: job.data.userId, result },
      {
        attempts: config.maxAttempts,
        backoff: { type: "exponential", delay: config.backoffDelay },
      }
    );
  },
  { connection: config.connection }
);
Since this is just a tutorial we only print a console.log, but you could perform any long lived operation that you would need to do.
We finalize the job by adding the result to a webhook queue keeping the userId so that we can notify the correct user's webhook later. Also note that since we are returning the promise from the call to "webhooksQueue.add" it implies that, if and only if this job completes successfully, the job to the webhooks queue would have been added correctly. The implication for this is robustness: if the tasks completes the user will get notified.
Next we implement the worker for the webhook queue:
import { Worker, Queue } from "bullmq";
import got from "got";
import config from "./config";
import { MailJob } from "./mail-job.interface";
import { getUserById } from "./users";

const mailQueue = new Queue<MailJob>(config.mailQueueName, {
  connection: config.connection,
});

export const webhooksWorker = new Worker<{ userId: string; result: string }>(
  config.webhooksQueueName,
  async (job) => {
    const { userId, result } = job.data;
    const user = await getUserById(userId);

    const maxWebhookAttempts = config.maxAttempts - config.maxAttemptsForEmail;

    if (job.attemptsMade < maxWebhookAttempts) {
      console.log(
        `Calling webhook for "${result}", attempt ${job.attemptsMade + 1} of ${maxWebhookAttempts}`
      );
      return got.post(user.webhook, { json: { result } });
    } else {
      console.log(
        `Giving up, lets mail user about webhook not working for "${result}"`
      );
      // Send an email to the user about failing webhooks.
      return mailQueue.add("webhook-failure", {
        mailOpts: {
          from: "manast@taskforce.sh",
          subject: "Your Webhook is failing",
          text: `We tried to send a notification to your webhook ${user.webhook} ${maxWebhookAttempts} times and it is failing.`,
          to: user.email,
        },
      });
    }
  },
  {
    connection: config.connection,
  }
);So here we fetch the data from the given user, where we should get the webhook endpoint as well as an email address. First we want to know if we have already consumed all the attempts available for the webhook call. If we are within limits we just call the endpoint posting the result from the task. If we have exhausted the number of attempts then we shall proceed to send an email instead, in the hope that the user can fix the issue so that future calls will succeed. For the email sending we use our "mailbot", please check this other tutorial for how this is done.
This is basically all there is to it, so now lets test if everything works
Testing
In order to test our webhooks system we are going to need 3 different servers running in parallel:
1) the actual server with the endpoint to post tasks.
2) the client server that is going to receive the webhook calls.
3) the workers that are processing all the jobs.
If you have cloned the tutorial repo, and installed the dependencies with yarn, then you can just run these commands each in a terminal window:
> bullmq-webhook yarn start
yarn run v1.22.5
$ tsc && node dist/index.js
Start listening to port 9000
the above will start the main server.
Now lets start the other two services:
> bullmq-webhook yarn start:test
yarn run v1.22.5
$ tsc && node dist/test-server.js
Test server start listening to port 8080
> bullmq-webhook yarn start:workers
yarn run v1.22.5
$ tsc && node dist/workers
Started workers: webhooks and tasksOk, now we have all the required servers in order to test our webhooks, we can now use curl to post a task to our main server and see what happens:
> curl -d '{"key1":"value1", "key2":"value2"}' -H "Content-Type: application/json" -X POST http://localhost:9000/users/1/tasks/transcode
1%The call was successful and we got the job id back. Now we can see what happened in the other services:
> bullmq-webhook yarn start
yarn run v1.22.5
$ tsc && node dist/index.js
Start listening to port 9000
Received task transcode to process...bullmq-webhook yarn start:workers
yarn run v1.22.5
$ tsc && node dist/workers
Started workers: webhooks and tasks
Processing job 1 of type transcode
Calling webhook for "Result data from task performed for transcode with ID 1", attempt 1 of 5The workers have picked up the task job, added the webhook job and also processed the job.
On the client server we can see that the webhook has been called successfully:
bullmq-webhook yarn start:test
yarn run v1.22.5
$ tsc && node dist/test-server.js
Test server start listening to port 8080
Received notification with { result: 'Result data from task performed for transcode with ID 1' }However, lets see what happens if our test server goes does down, so lets just quit the service and try again:
> bullmq-webhook yarn start
yarn run v1.22.5
$ tsc && node dist/index.js
Start listening to port 9000
Received task transcode to process...
Received task transcode to process...The main server received a new task to process, however since the client server is down, our webhook worker is retrying instead:
> bullmq-webhook yarn start:workers
yarn run v1.22.5
$ tsc && node dist/workers
Started workers: webhooks and tasks
Processing job 1 of type transcode
Calling webhook for "Result data from task performed for transcode with ID 1", attempt 1 of 5
Calling webhook for "Result data from task performed for transcode with ID 2", attempt 1 of 5
Calling webhook for "Result data from task performed for transcode with ID 2", attempt 2 of 5
Calling webhook for "Result data from task performed for transcode with ID 2", attempt 3 of 5
Calling webhook for "Result data from task performed for transcode with ID 2", attempt 4 of 5
Calling webhook for "Result data from task performed for transcode with ID 2", attempt 5 of 5
Giving up, lets mail user about webhook not working for "Result data from task performed for transcode with ID 2"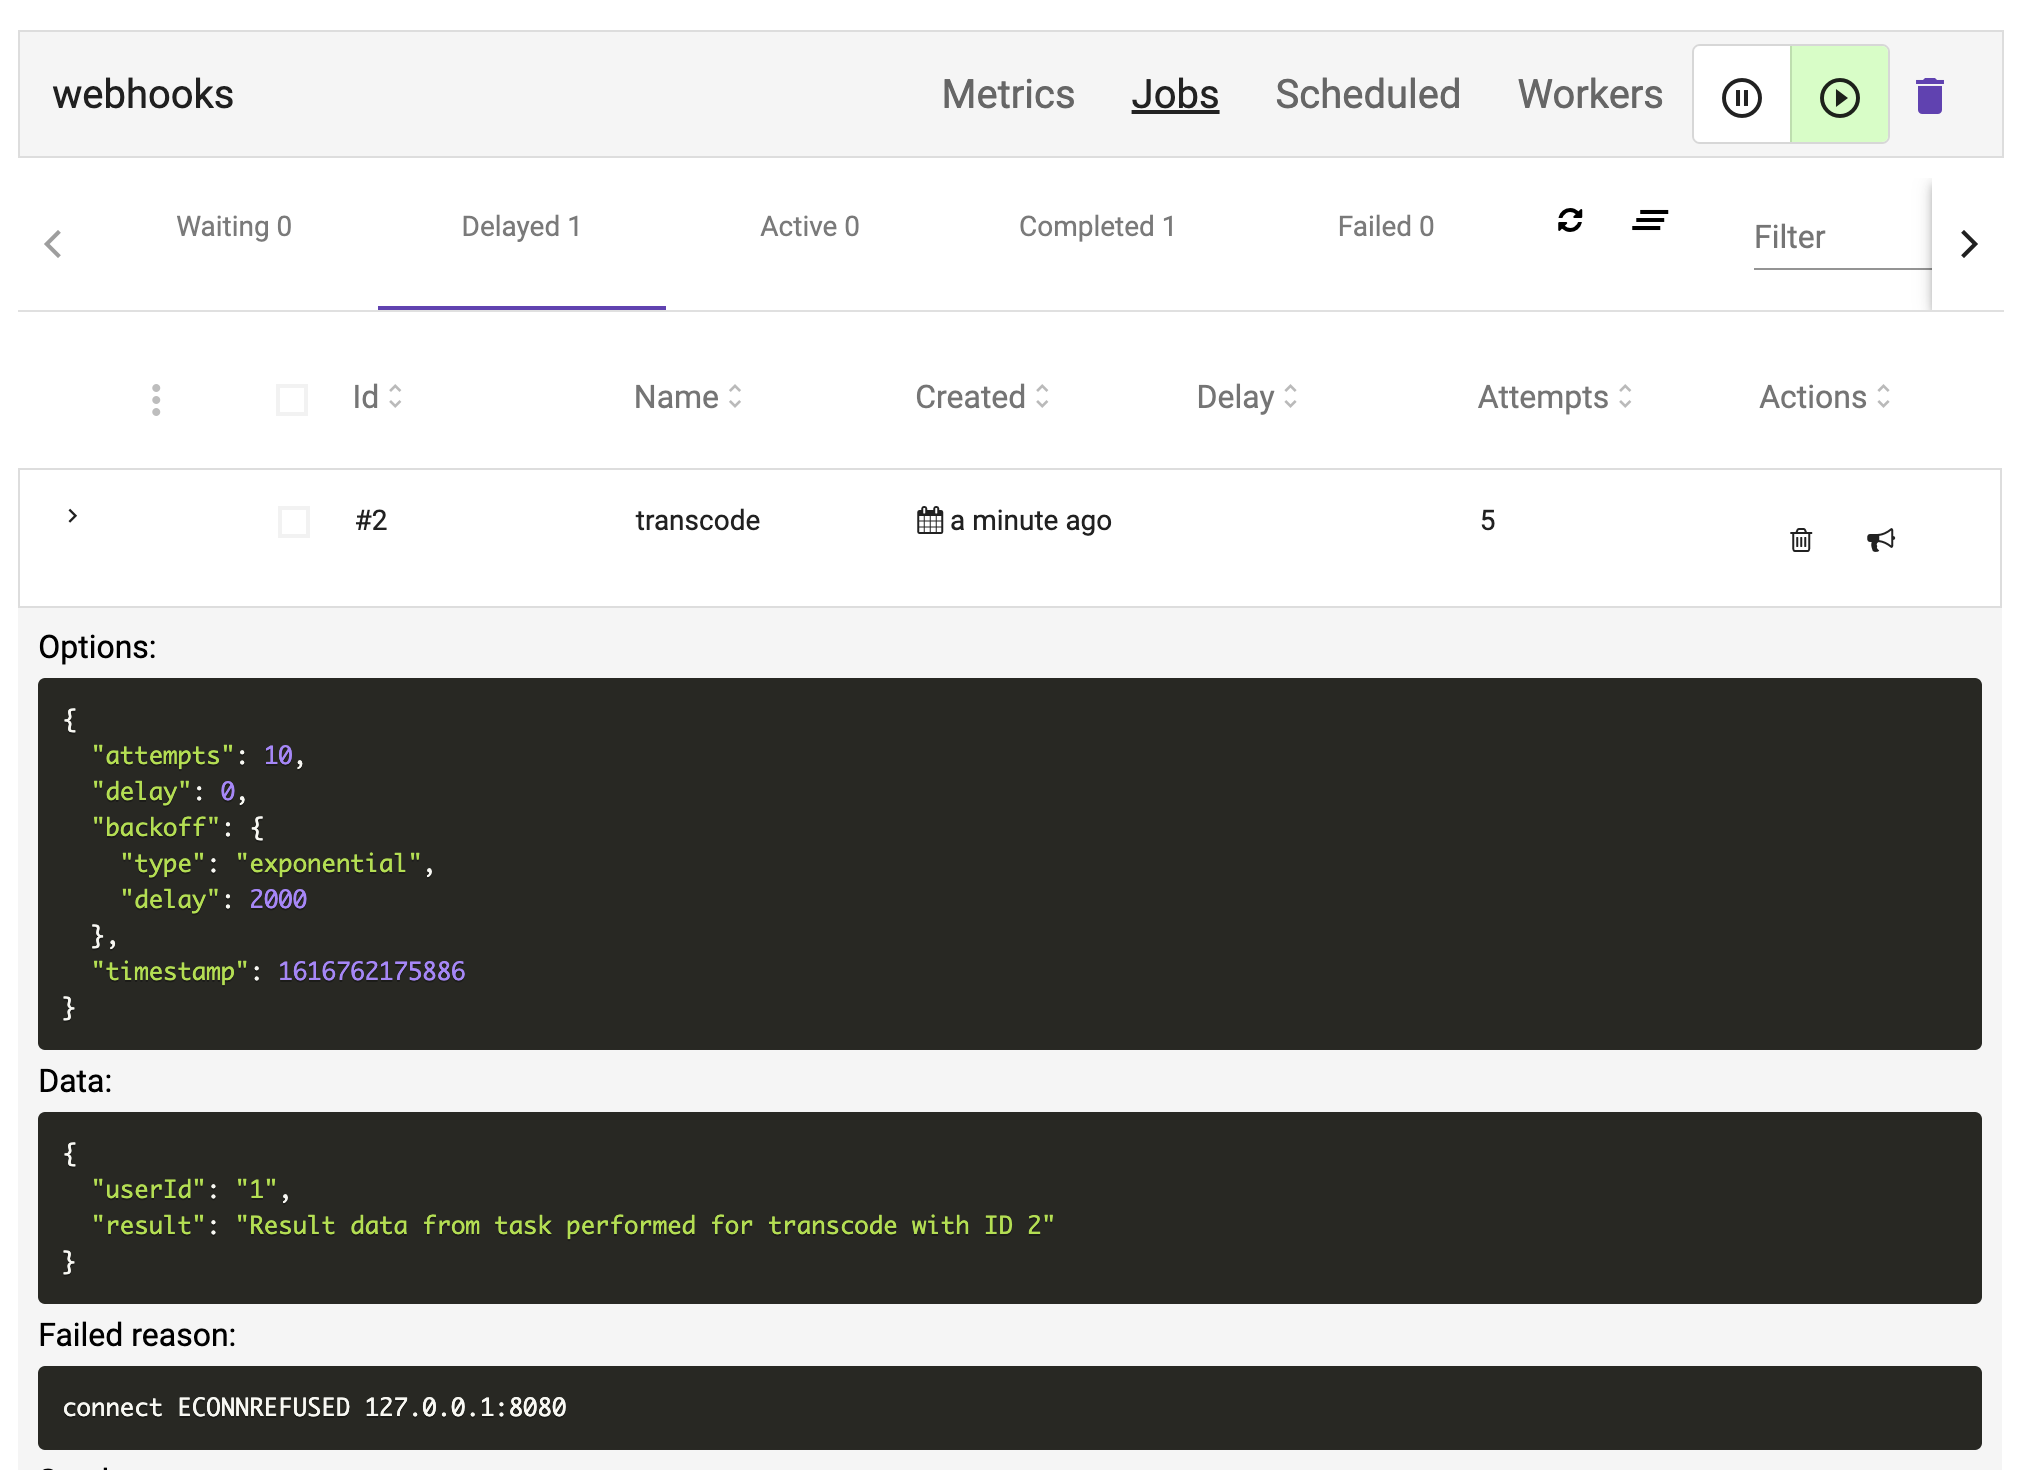
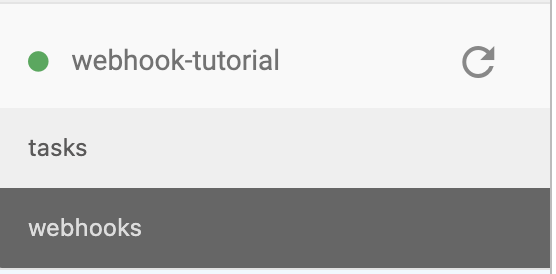
We can also use Taskforce.sh to examine the queue and jobs, running the taskforce-connector we can easily see the local queues in the ui:
>  taskforce  -t mytaskforcetoken -n webhook-tutorial
Taskforce Connector v1.12.0 - (c) 2017-2020 Taskforce.sh Inc.
WebSocket: opening connection to Taskforce.sh
WebSocket: opened connection to Taskforce.sh
And now a new connection appears automatically:
We can see that 2 jobs completed in the webhooks queue:
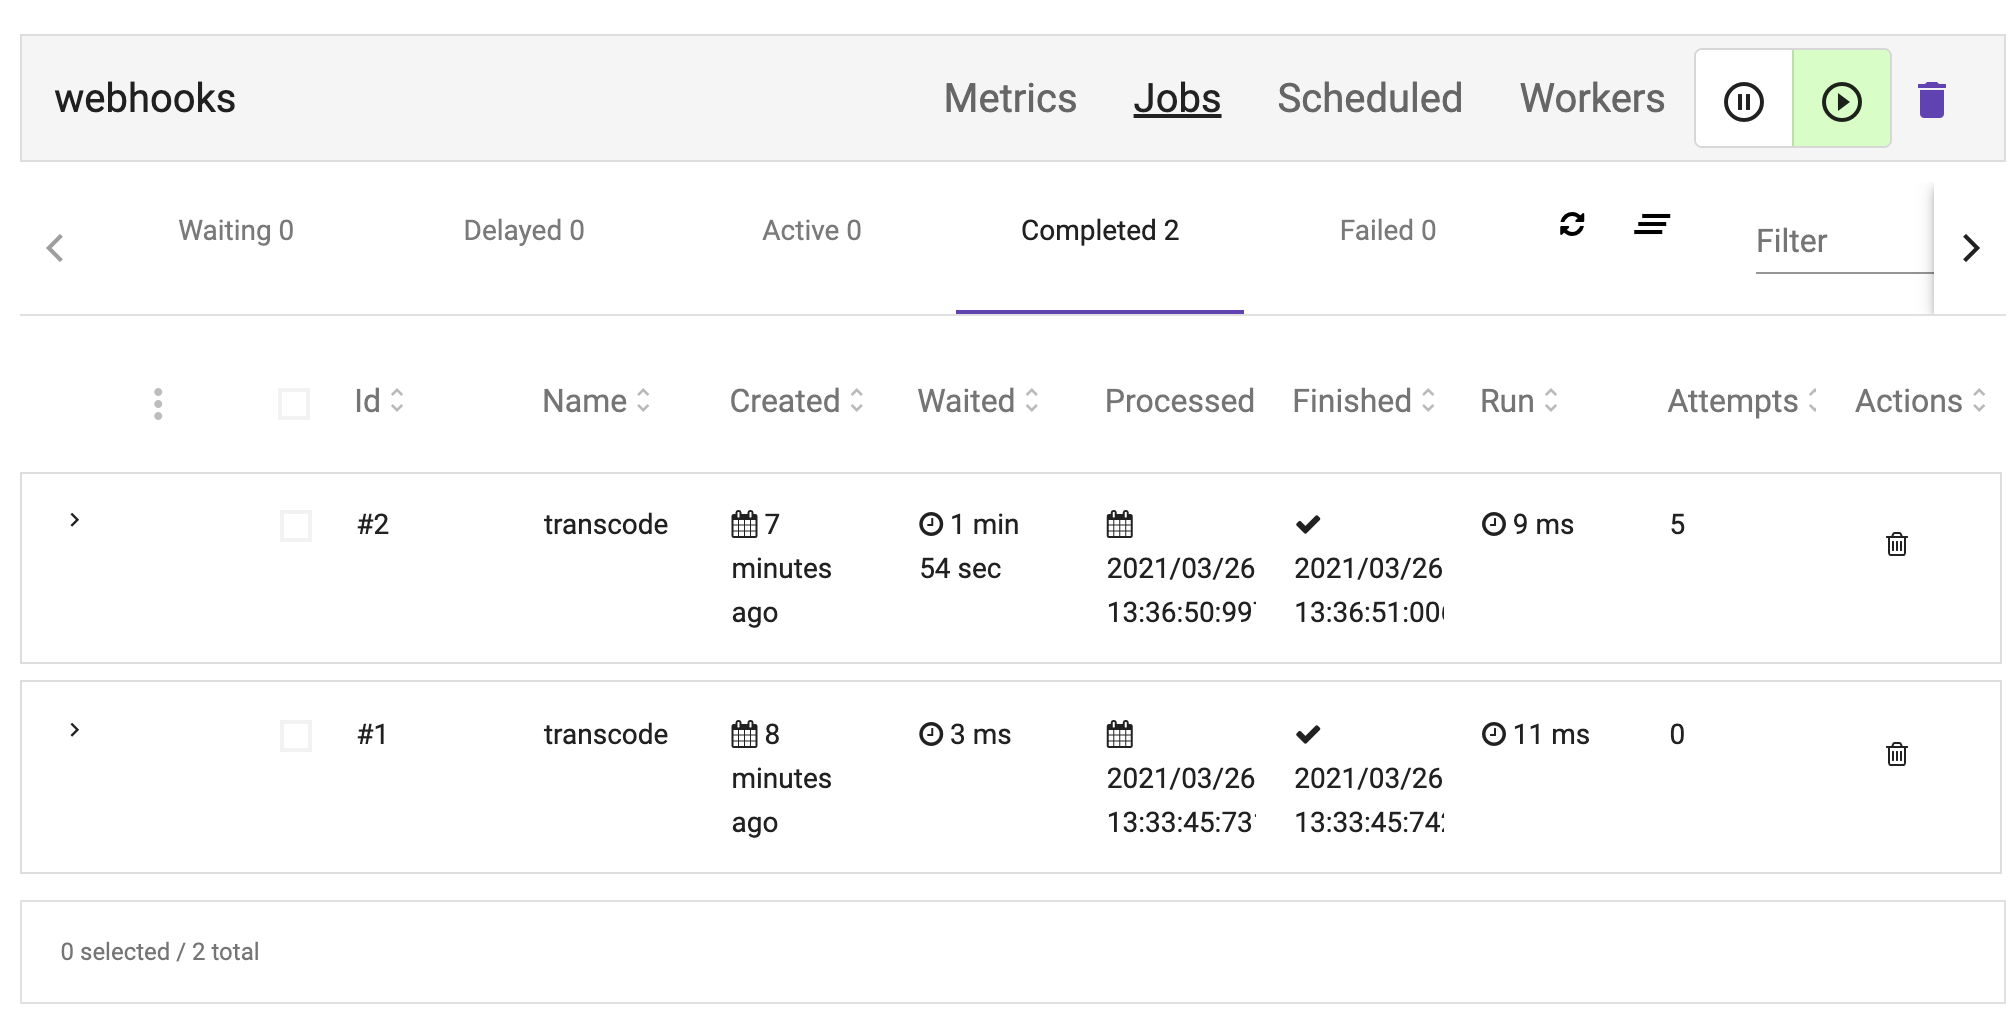
However as we know, one did not managed to call the endpoint, but it still completed since it managed to add a new job to the email queue. If we open the job we can still see the reason why it failed, and the result of adding the job to the mailbot queue.
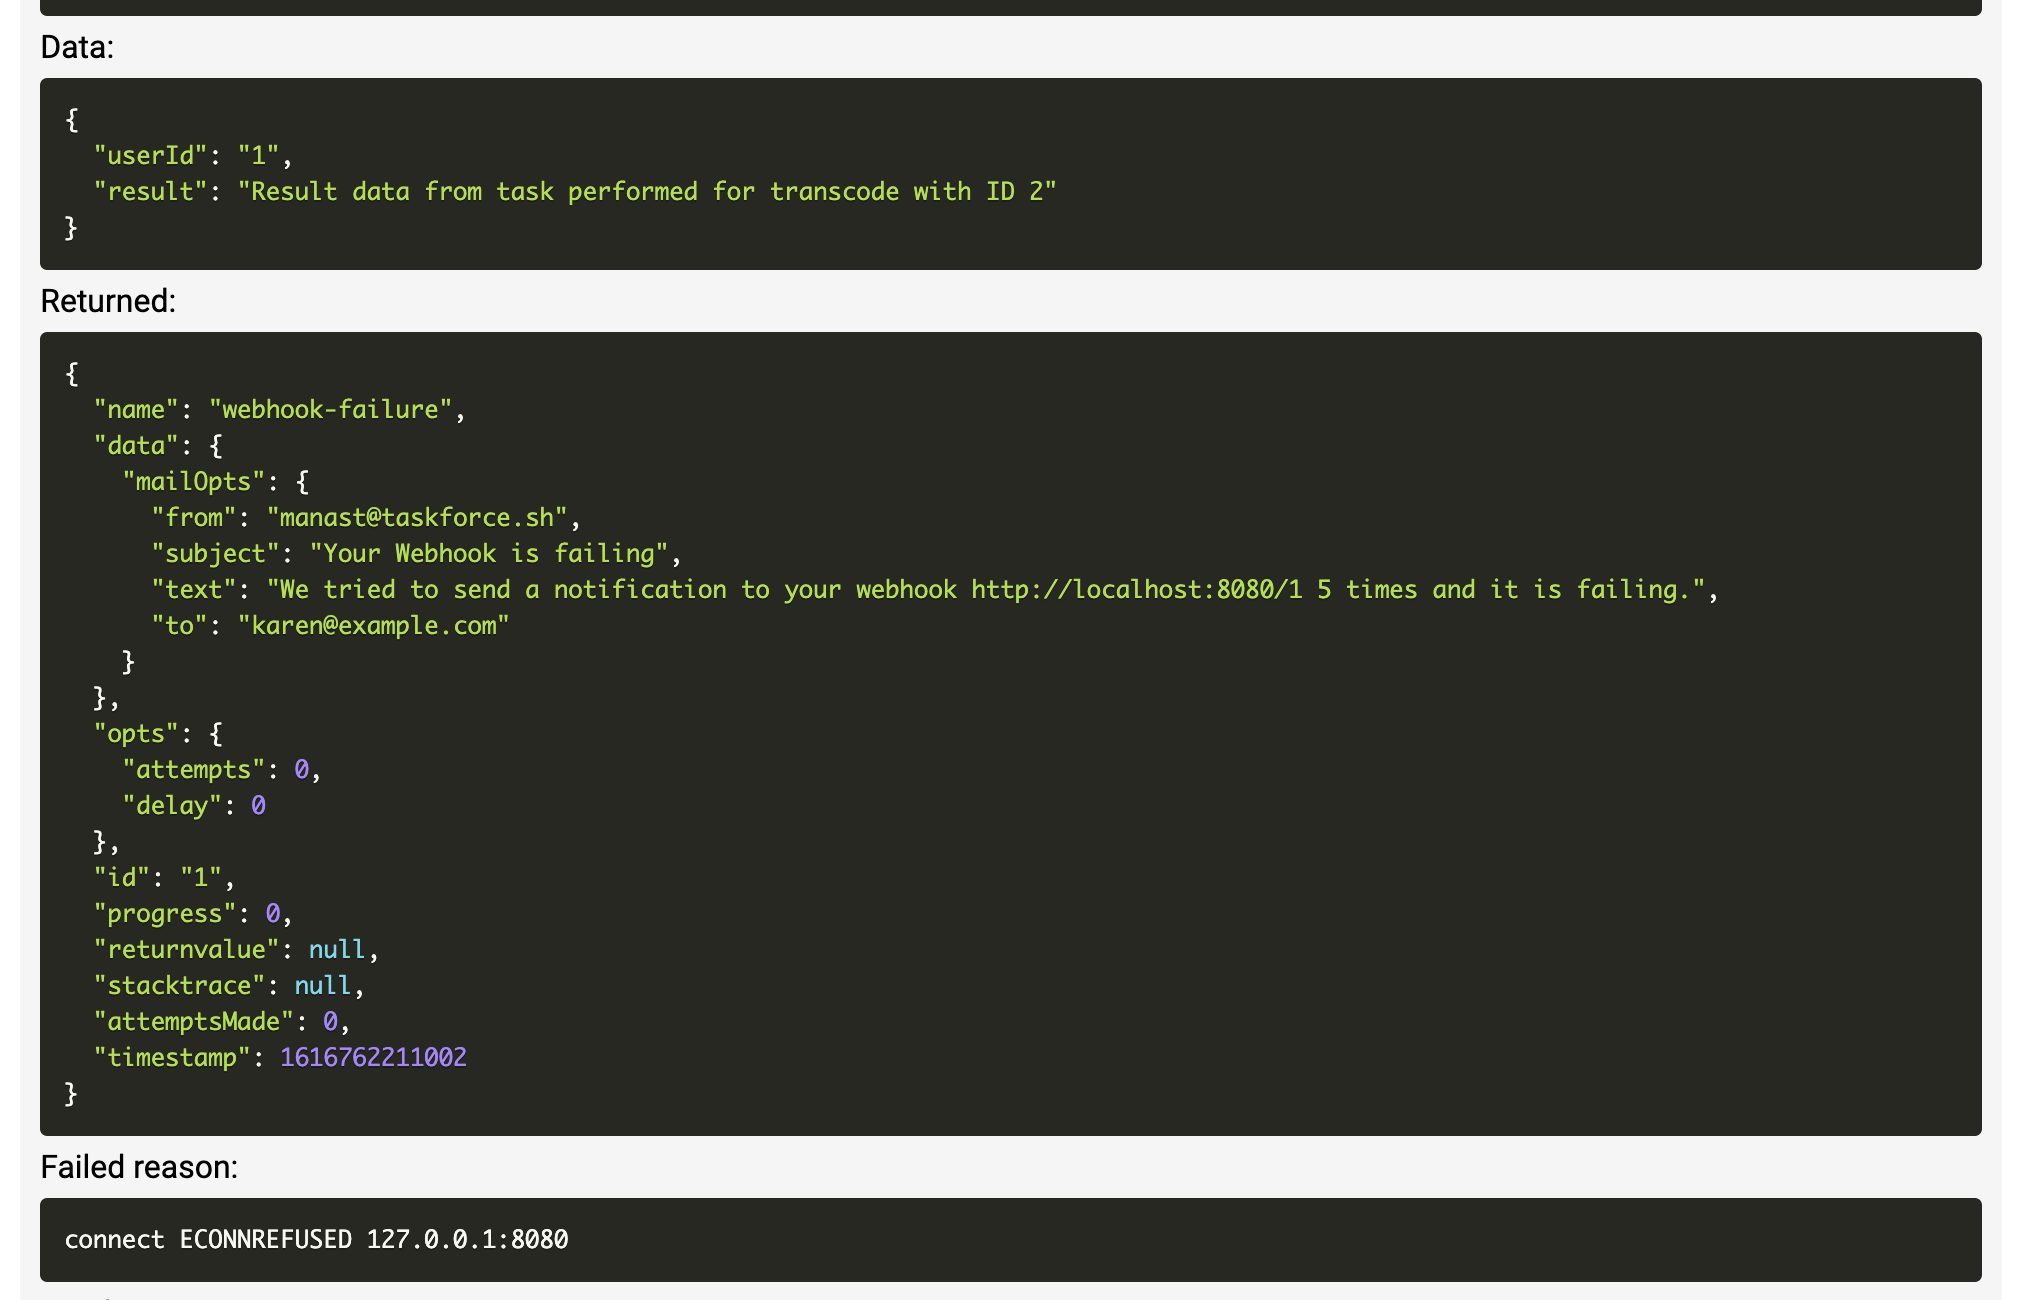
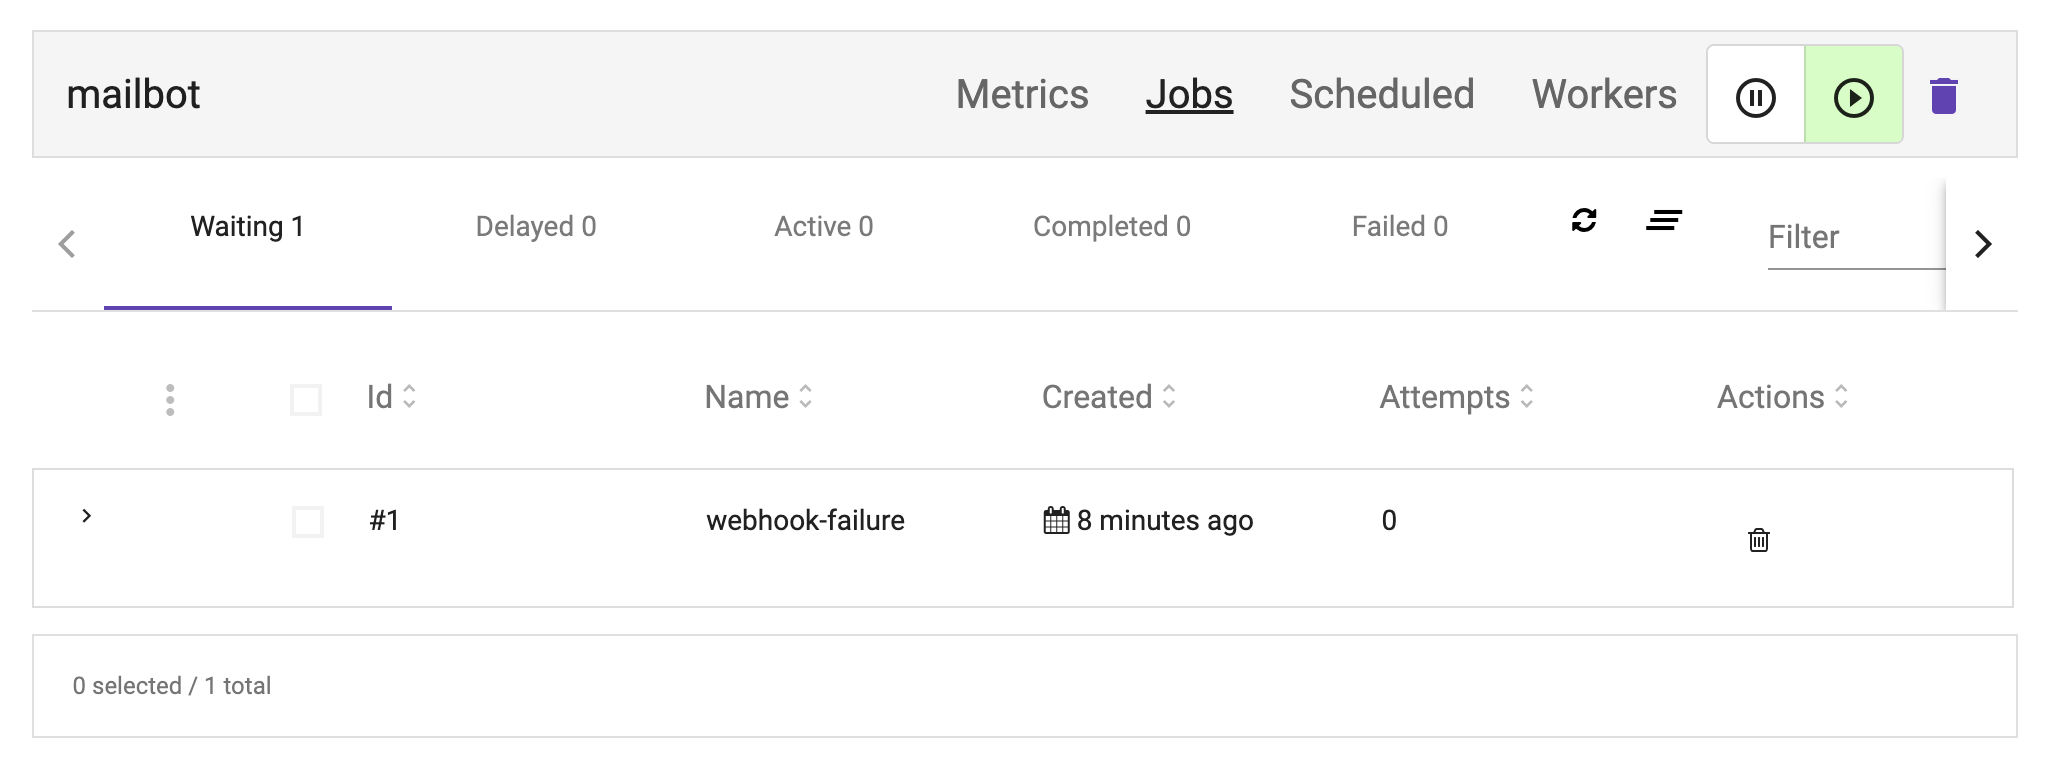
The emailbot queue has now the job, however since we do not have any workers processing emails it stays in wait status:
As you can see, we get quite good visibility of how the queues are performing using the UI, and if something goes wrong we can manually retry the failed jobs after correcting the underlying cause that made them fail.
And with this we reached the end of this tutorial, I hope you found it useful. Please stay tuned for more. I am always looking for ideas for future tutorials so if you have any please do not hesitate to contact me.
Follow me on twitter if you want to be the first to know when I publish new tutorials and tips for Bull/BullMQ.
And remember, subscribing to Taskforce.sh is the greatest way to help supporting future BullMQ development!